| Excerpt | |||||||||||||||||
|---|---|---|---|---|---|---|---|---|---|---|---|---|---|---|---|---|---|
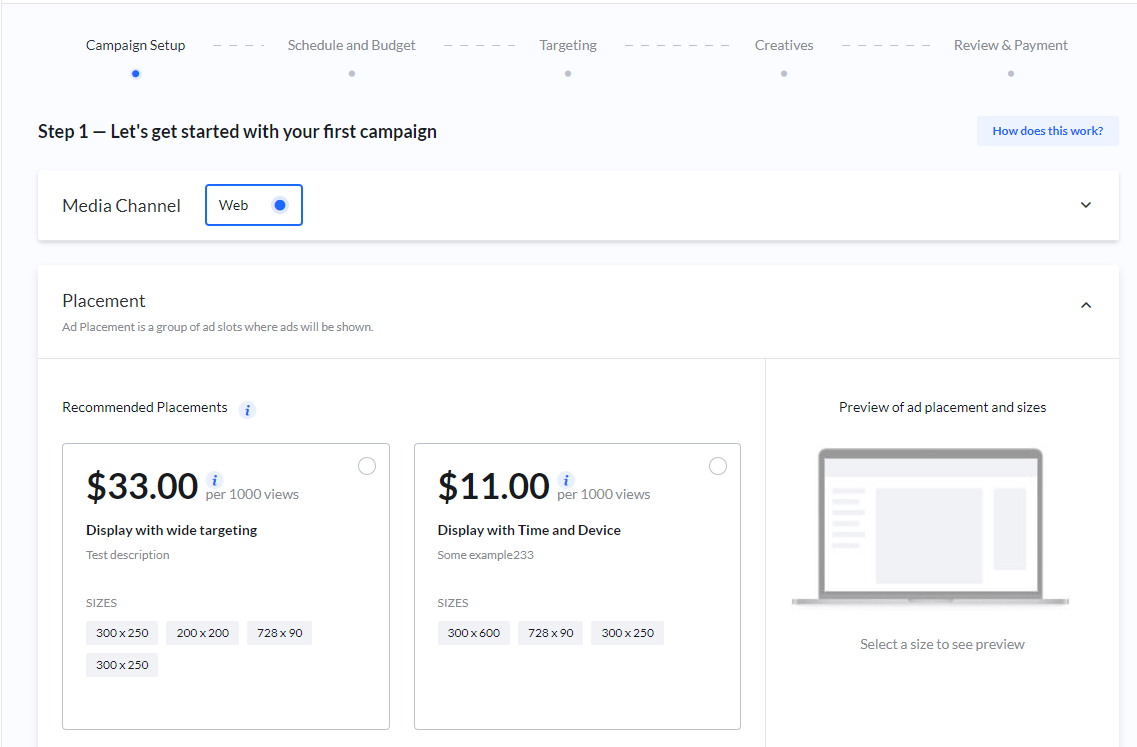
Create CampaignYou create campaigns in the Campaign Wizard. Select Create Campaign.
Schedule and budgetSchedule and Budget is often step 2 in the campaign wizard. Remember, depending on the product you selected, your options for each step might be different. Budget model - options for how you wish to pay.If available you can choose between Pre-pay or Subscription. Pre-payPre-pay means you will pay for your campaign upfront (or by invoice). When you select Pre-pay you can set Start and End date. SubscriptionSubscription means you will pay for your campaign on a weekly schedule. For Subscription you set Start date and can choose between fixed or open End date.
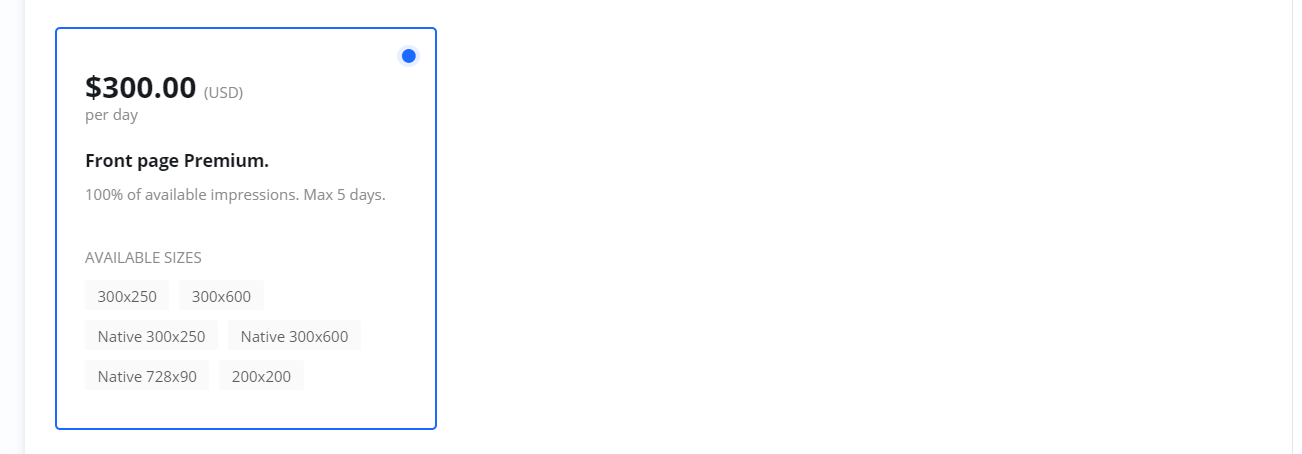
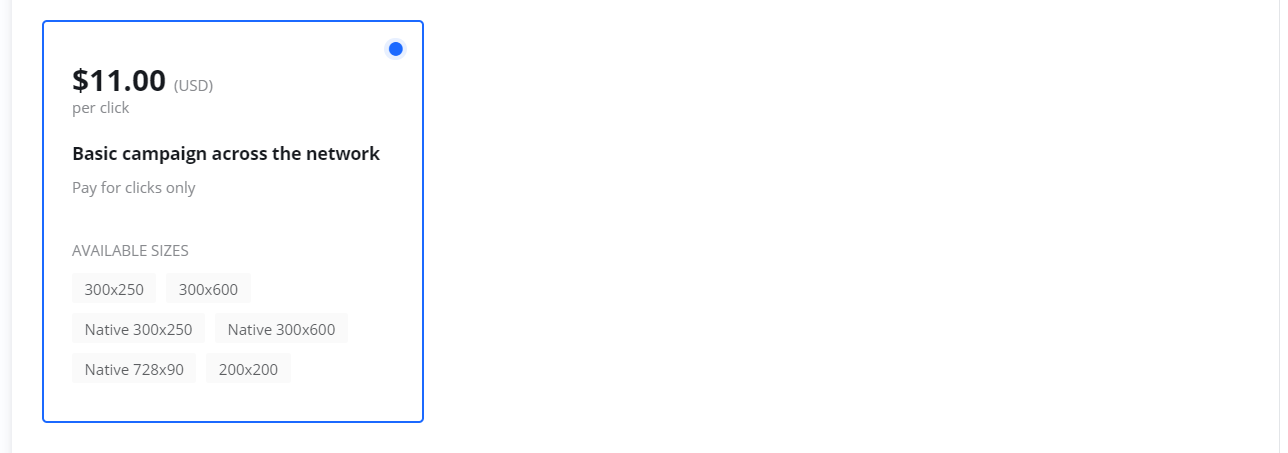
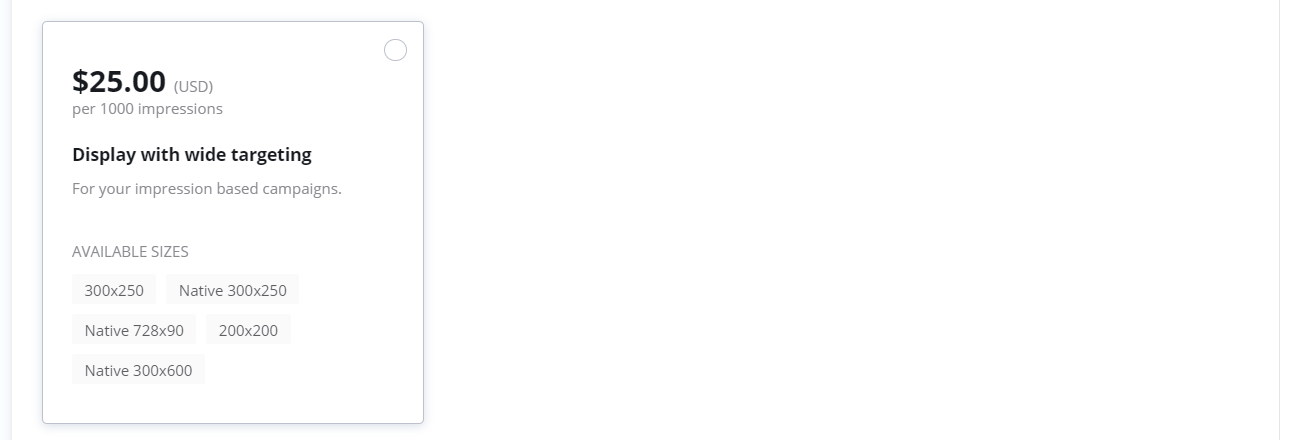
BudgetDepending on the Price and Budget models you choose, the options for Budget will be different. Budget for impression based campaigns (CPM):You can switch between setting budget in money or impressions. Budget for impression based campaigns (CPM) - Subscription budget model:Budget for click based campaigns (CPC):You can switch between setting budget in money or clicks. For click campaigns, and you wish to pay for delivered clicks as a subscription, you set the daily budget only: Budget for % (Share-of-Voice) based campaigns (CPD):For campaigns where you buy a % of all available impressions, the number of days decides your budget. Here is an example of a CPD campaign with a price of $1,600 per day, running for two days.
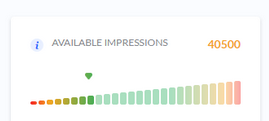
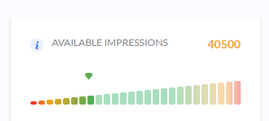
AvailabilityIf you have selected the pre-pay option, the platform is checking availability continuously. Between each step the Platform is checking if the impressions you are looking for are available. You will be notified if there is limited availability.
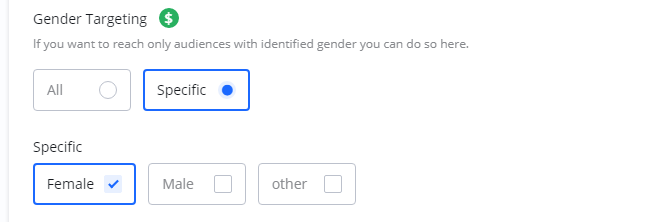
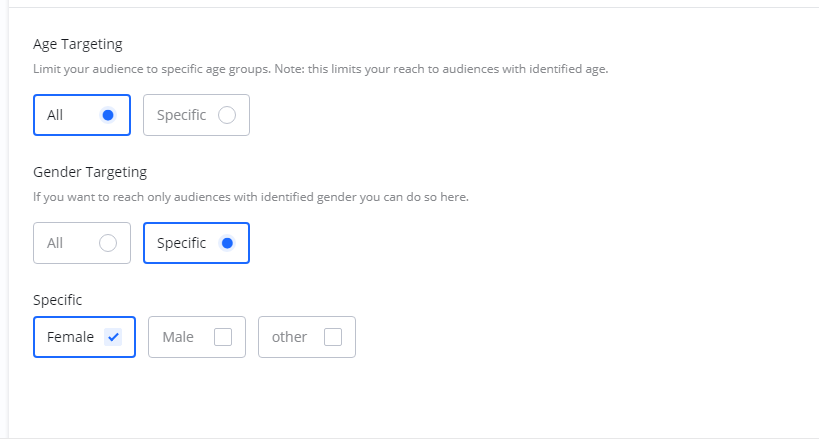
Targeting optionsNext step(s) when creating your campaigns is targeting. This is where you control where, when, to whom and how often your ads are shown. Remember, depending on the product you selected, your options for each step might be different. After Schedule and Budget you click Next to get to the Targeting stepFor a more complete description of targeting check the Targeting section. Add-on prices for targetingSome targeting options might have additional costs. You can identify these by a green $-icon next to the targeting name. For example here where Gender targeting has an add-on price. Age and GenderIf available you can set Age and Gender targeting.
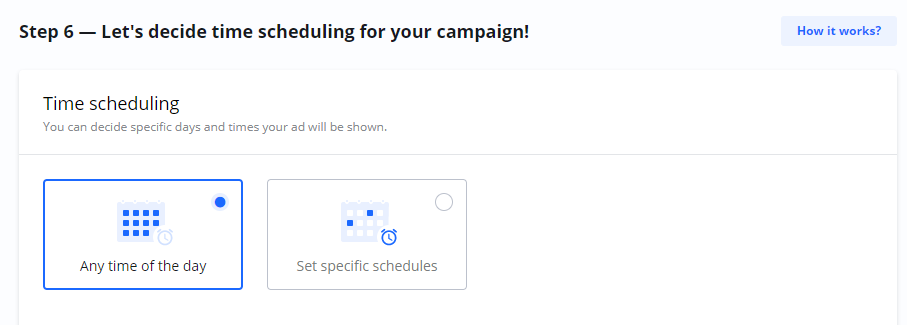
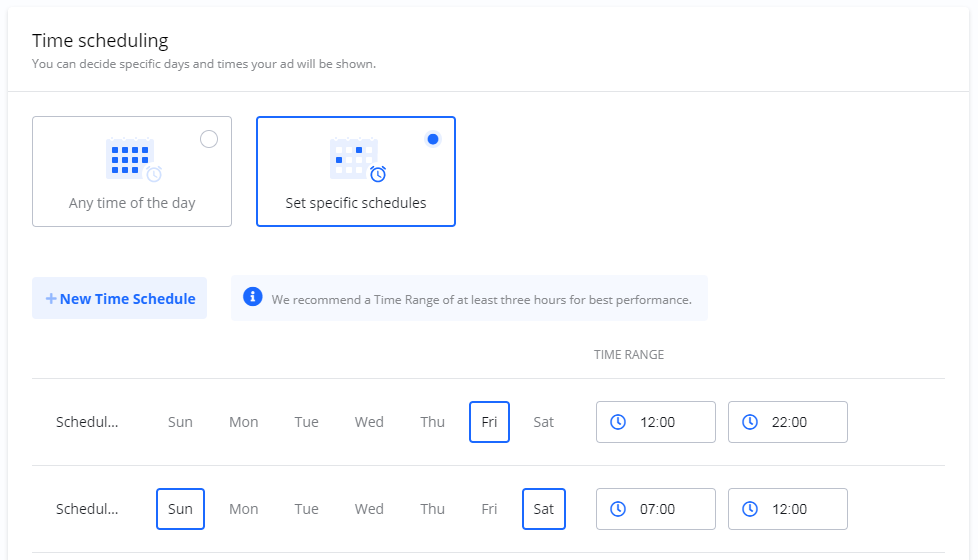
Time schedulingUnder Time scheduling you can set specific schedules if want your ad to be shown only on specific days of the week, and specific times during those days.
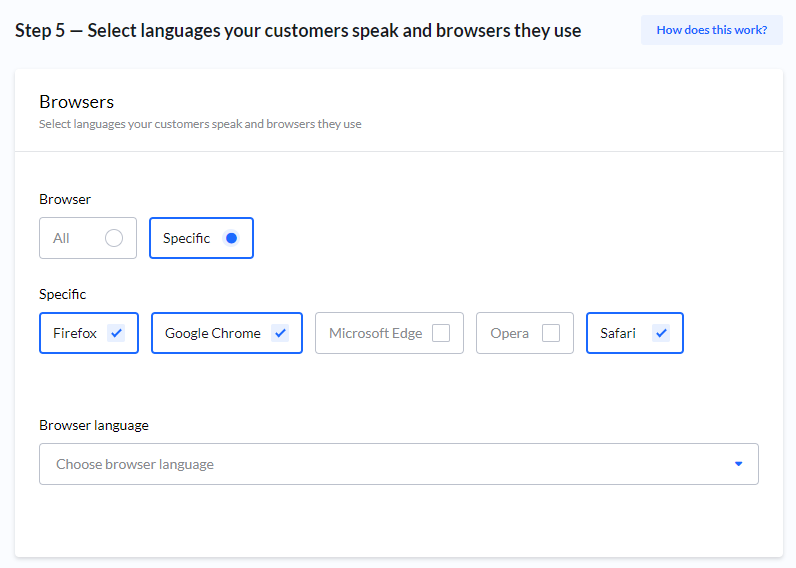
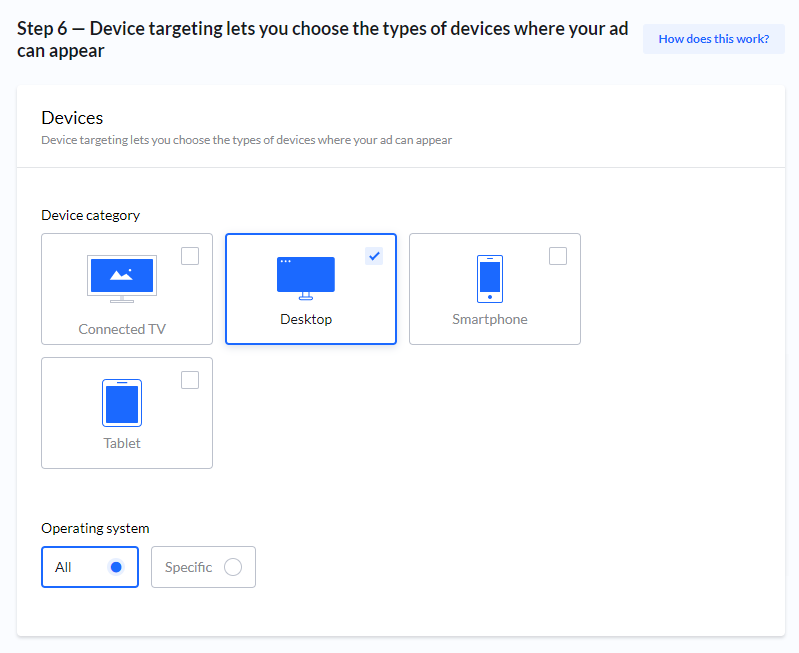
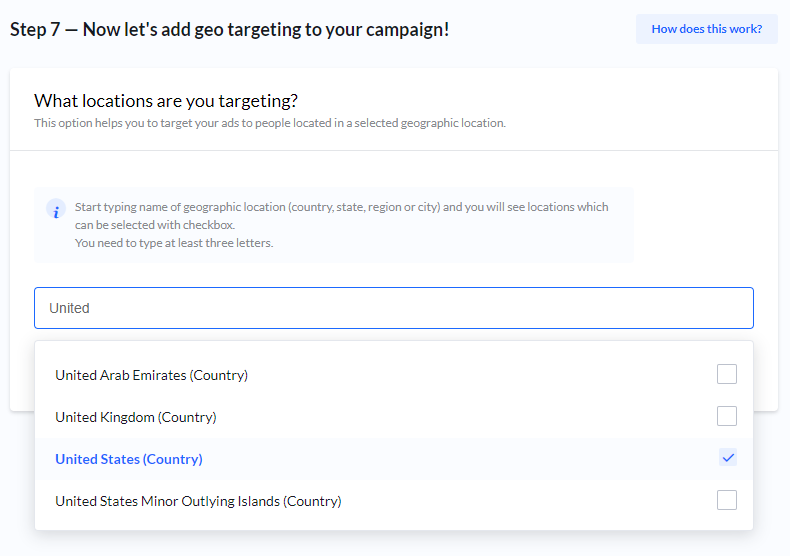
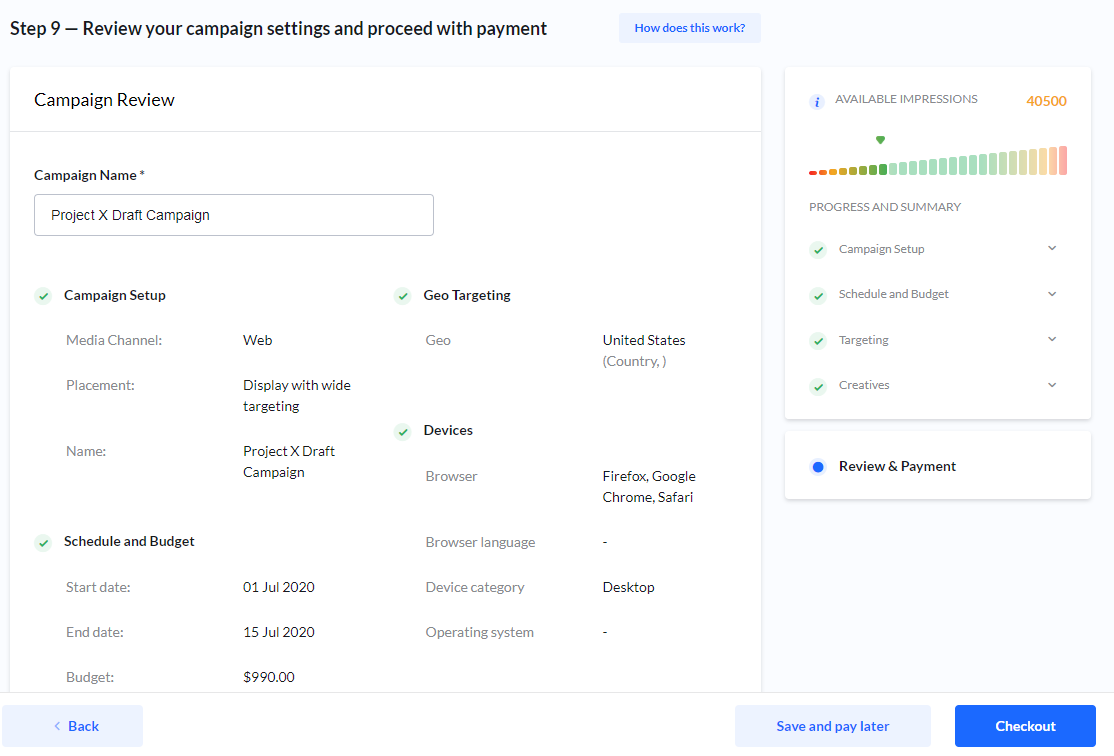
Frequency cappingFrequency capping is a setting which objective is to limit the times your ad is shown to the same user. Browser type and Browser LanguageYou can set Browser type and Language, both optional. Device category and Operating systemIf available, you can select Device category and Operating system, both optional. GeographySelect Geography if you want your ad to be shown only to audiences viewing your ad from specific locations. CreativesAfter targeting you can add you creatives. Creatives are your actual ads which will be shown to your audience. For a more complete description of creatives check the Creatives section. Review - Final step!Set a descriptive Campaign Name and review your campaign. When you are done you can either Save and pay later or Checkout. Impressions and availabilityIf you have selected the pre-pay option, the platform is checking availability continuously. You will be notified if there is limited availability.
Warning | Campaign status
|
Checkout and payment
| Insert excerpt | ||||||
|---|---|---|---|---|---|---|
|

